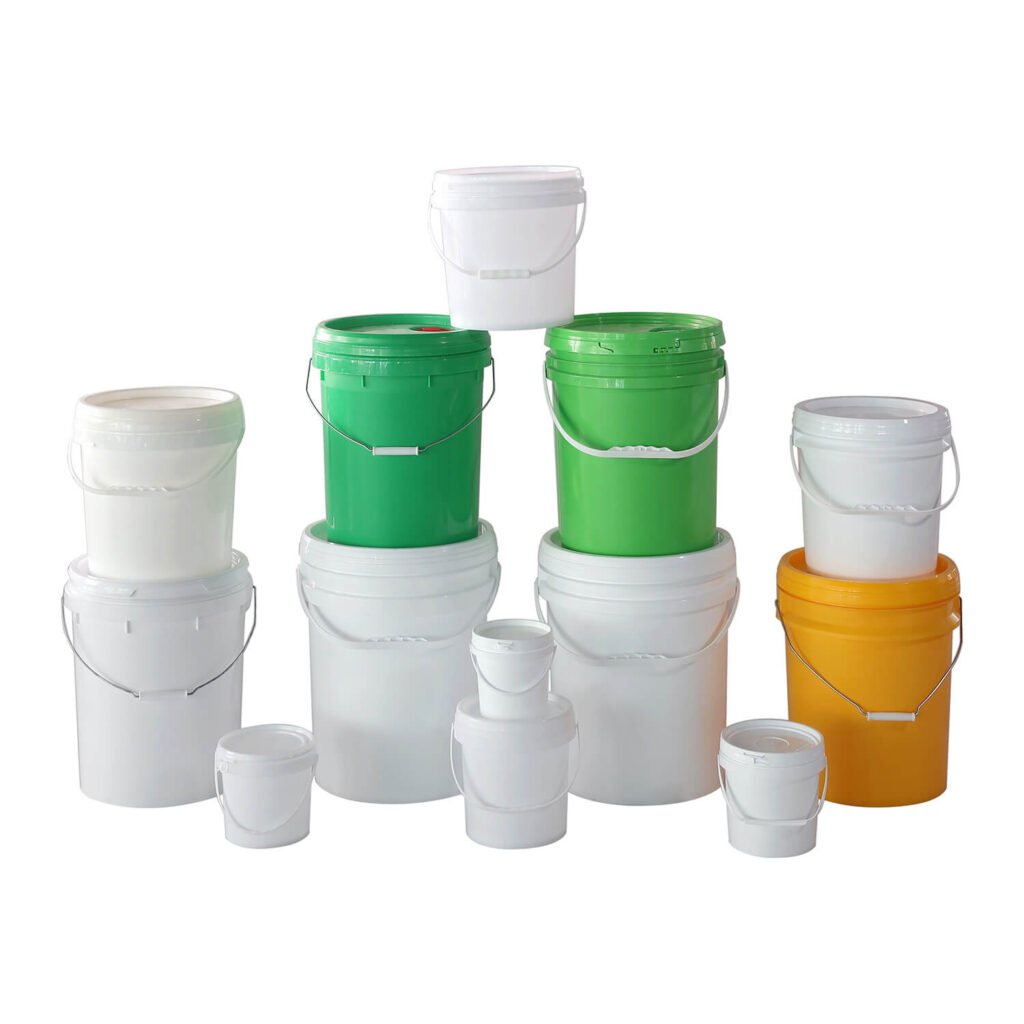
Plastic buckets are used in a wide range of ways in daily life, from storing water, storing detergents, growing flowers, to transporting items. They are lightweight, durable, and affordable, making them indispensable tools for home and work. However, once a plastic bucket leaks, it not only wastes resources (such as water or detergent loss) but also may pollute the environment. The good news is that plastic bucket leaks are not irreversible! Most leaks can be effectively solved by mastering the correct repair methods. This article will detail a variety of practical and effective repair methods covering different situations and needs, helping you easily restore the function of plastic buckets while extending their service life.
1. Check and evaluate the leaking problem
Before repairing a leaking plastic bucket, accurately identifying the problem and assessing the extent of the damage is a critical first step. Here are the specific steps:
1.1 Confirm the leak location
To repair a leak, you first need to find the leak accurately. The following steps can help you locate it quickly:
Clean and dry thoroughly: Before repairing, the plastic bucket must be thoroughly cleaned inside and outside to remove oil, dust or residue, and ensure that it is completely dry. Moisture or oil will seriously affect the bonding effect and cause the repair to fail.
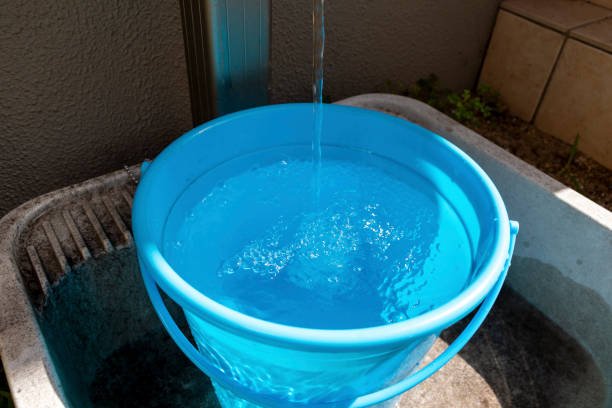
Visual inspection: Carefully observe the surface of the bucket to find obvious cracks, holes, or cracks in seams.
Water filling test method: Fill the bucket with clean water, shake it gently, and observe the location of water marks or water drops. If the leak is not obvious, add a small amount of dye (such as food coloring) to the water to enhance visibility.
Mark the leak: Clearly mark all leaks with a waterproof marker to ensure that they are not missed during subsequent repairs.
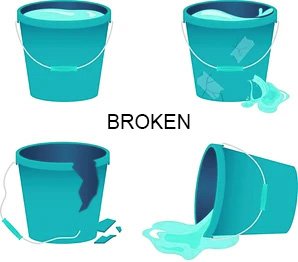
1.2 Assess the extent of damage
Different types of damage require different repair methods, so carefully evaluate:
Distinguish the type of damage: Is it a tiny pinhole, a small crack, a larger hole, or a leak at the seam? Different repair methods are suitable for each situation.
Determine the type of plastic: Plastic buckets are usually made of high-density polyethylene (HDPE), polypropylene (PP) or polyvinyl chloride (PVC). Different materials have different compatibility with glue or welding materials, which affects the repair effect. Check the material identification on the bottom of the barrel or on the label (such as “HDPE” or “PP”) to select the appropriate repair material.
1.3 Determine the feasibility of repair
Before deciding to repair, consider the following factors:
Type and severity of damage: Tiny pinholes are easy to repair, while larger cracks or seam leaks require more complex methods. Is the damage located in a stress-bearing area (such as the bottom of the pail or near the handle)? These areas are subject to greater pressure and require higher difficulty and durability in repair.
Purpose of the pail: If the bucket is used to hold food or drinking water, the repair material must meet food safety standards; if it is used to hold chemicals, ensure that the material is corrosion-resistant.
Repair cost and value: If the damage is severe or the cost of repair is too high (such as requiring professional tools), it may be more cost-effective to replace it directly.
2. Methods for repairing leaking plastic buckets
Depending on the degree of leakage and usage scenario, the following are four practical repair methods, from simple emergency to professional repair, to meet different needs:
Method 1: Quick emergency – waterproof tape/strong tape
Applicable scenarios: small holes, temporary emergency, non-stressed parts, and temporary outdoor use.
Recommended materials:
- Water pipe repair tape (self-melting tape, strong, waterproof)
- Strong electrical tape
- Teflon tape
- Wide transparent tape (poor effect, only suitable for very short-term use)
Operation steps:
- Clean and thoroughly dry the leaking area to ensure that there is no oil or moisture.
- Cut enough tape to cover the leaking point and the surrounding 2-3 cm.
- Wrap the tape tightly to cover the leaking point and the surrounding area. The water pipe tape needs to be stretched and wrapped, and each circle overlaps more than half to ensure sealing.
- Press the tape hard to ensure that it is firmly adhered without bubbles.
Advantages: simple operation, low cost, fast repair speed, suitable for emergency situations.
Disadvantages: Only a temporary solution, not resistant to long-term water pressure, immersion or extreme temperature, easy to fall off. Not suitable for large cracks or stress-bearing parts.
Method 2: Adhesive repair – special plastic adhesive
Applicable scenarios: small and medium cracks, holes, seam leakage, and strong durability.
Key: Identify the type of plastic (PE/PP/PVC) and select the corresponding glue. Common plastic barrels are mostly PE or PP, which are difficult to stick and require special glue.
Recommended materials:
- Special glue for PE/PP: such as modified acrylic glue (need to be matched with treatment agent/primer) or some epoxy resin glue (need to confirm applicability).
- Special glue for PVC: PVC-U adhesive, the best effect.
- Multi-purpose super glue (AB glue – epoxy resin): strong versatility, suitable for a variety of hard plastics, but may be less effective for soft PE/PP.
- Instant glue (cyanoacrylate): only suitable for very small gaps, hard plastics, brittle, not resistant to blisters.
Operation steps:
- Clean and dry the damaged area thoroughly to remove oil and dust.
- (If necessary) Sand the surrounding area of the damage with sandpaper to increase the surface roughness (especially important for PE/PP).
- If the glue requires it, use a matching treatment agent or primer to treat the bonding surface to improve the bonding effect.
- Mix the glue according to the instructions (such as AB glue, mix according to the proportion).
- Use a toothpick or a small brush to evenly apply or fill the glue into the crack/hole, ensuring that the entire damaged area is covered and slightly overflowing.
- Apply appropriate pressure to fix, and can be pressed with heavy objects, fixed with tape or clamped.
- Let it stand and cure according to the glue instructions. It usually takes more than 24 hours to achieve the best strength.
Advantages: high repair strength, long-lasting effect, and better appearance after polishing.
Disadvantages: more complicated operation, need to choose the right glue, long curing time, and some glues have an odor.
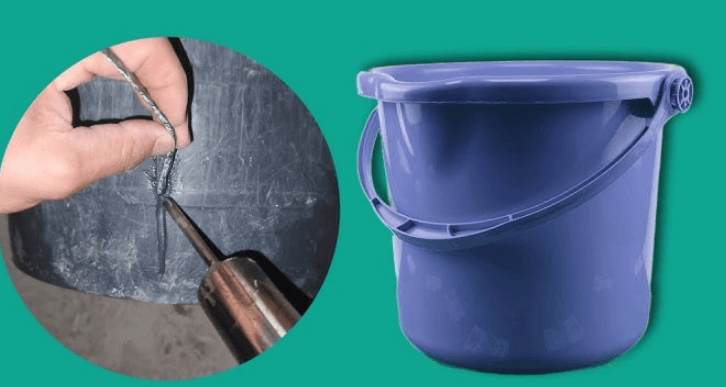
Method 3: Filling and reinforcement – plastic repair rod/hot melt welding
Applicable scenarios: large cracks, holes, edge damage, requiring extremely high strength and durability (close to the strength of the raw material).
Principle: Use heat to melt plastic of the same material (repair rod or pail itself) for fusion repair.
Recommended materials:
- Plastic welding gun (hot air gun) + plastic welding rod of matching material (PE, PP, PVC).
- Special plastic repair rod (with its own heat source or with a soldering iron).
Operation steps:
- Thoroughly clean and dry the damaged area, and remove oil and dust.
- Sand the damaged area and surrounding area with sandpaper to remove burrs.
- (Large cracks) Drill small crack-stop holes (1-2 mm in diameter) at both ends of the crack to prevent the crack from extending further.
- Preheat the welding gun to a suitable temperature (adjusted according to the material, usually 200-300°C).
- Heat the damaged edge and the welding rod at the same time to melt them.
- Press the molten welding rod into the crack or hole to ensure that it is melted and combined with the bucket body and filled fully.
- Allow the molten plastic to slightly cover the surrounding area for reinforcement.
- Allow to cool and solidify naturally, and (optionally) sand it flat.
Advantages: The highest repair strength, close to the original material performance, durable, suitable for stress-bearing parts, and large damage.
Disadvantages: Requires professional tools (welding gun), high operating technology requirements, high temperature operation has certain risks, and is not suitable for extremely thin bucket walls.
Method 4: Inside and outside attack – patch method
Applicable scenarios: large holes, cracks that cannot be glued or welded alone, and thin bucket wall areas.
Principle: Paste a patch material inside and outside the damaged area, fix it by bonding or welding, and form a “sandwich” structure to strengthen the seal.
Recommended materials:
- Patch material: plastic sheet of the same material (best), thick waterproof cloth (canvas, rubber sheet), metal sheet (rust-proof treatment required).
- Fixing method: strong plastic glue, rivet + sealing gasket (mechanical fixation), plastic welding (when the patch is plastic).
Operation steps:
- Clean and dry the inner and outer surfaces of the damaged area.
- Cut a patch of material that is one circle larger than the damaged area (at least 2-3 cm), and prepare one inside and one outside.
- (If using glue) Sand the repair area and the patch bonding surface with sandpaper.
- Apply glue to the bonding surface of the patch and the bucket, or prepare for welding.
- Align the inner patch and stick it in place and press it tightly.
- Align the outer patch to cover the inner patch, stick it in place and press it tight.
- (If using glue) Press and fix until it is fully cured (refer to the glue instructions).
- (If using rivets) Drill holes around the patch, install rivets, and add rubber or silicone gaskets under each rivet to ensure sealing.
Advantages: Provides strong physical support and sealing, suitable for larger damage.
Disadvantages: Complex operation, may affect the appearance and internal smoothness, and the rivet method requires additional tools.
3. Precautions
- Safety Tips: When using chemical glue or a heat gun, be sure to wear protective gloves and goggles, and operate in a well-ventilated environment to avoid inhaling harmful gases or burns.
- Environmental Considerations: Give priority to environmentally friendly repair materials, such as non-toxic glue or recyclable patch materials, to reduce the impact on the environment.
- Usage Restrictions: Repaired plastic buckets may not be suitable for food or drinking water, especially when non-food-grade glue or materials are used, so use them with caution.
- When to choose to replace: If the barrel is severely damaged (such as large-scale cracks, severe aging of the barrel wall), or the repair cost (time, materials, tools) is higher than the price of a new barrel, it is recommended to replace it directly.
Prevention is better than a cure: How to prevent plastic buckets from leaking
Preventing leaks is more time-saving and labor-saving than repairing them. Here are some practical suggestions:
Avoid overheated liquids: Unless the bucket is clearly marked as high-temperature resistant, do not put hot water in it to avoid deformation or cracking of the plastic.
Avoid excessive squeezing or impact: Handle the bucket with care during transportation, and avoid dropping or squeezing the bucket with heavy objects.
Avoid exposure to sunlight: Long-term exposure to strong ultraviolet rays will accelerate the aging of plastics, causing embrittlement or cracks.
Avoid highly corrosive chemicals: Unless the bucket material is clearly resistant (such as marked as acid and alkali resistant), do not hold highly corrosive liquids.
Regular inspection: Regularly inspect the pail body, especially the joints and stress-bearing parts (such as the bottom of the pail, near the handle), and deal with small cracks in time.
Reasonable use and storage: Avoid overloading during transportation, empty the liquid in the pail during long-term storage, and place it in a cool and dry place.
Conclusion
The problem of plastic bucket leakage is not unsolvable. You can choose the appropriate repair plan according to the degree of leakage and usage requirements.
If these methods are used properly, they can not only effectively restore the function of the plastic bucket but also save costs, reduce waste, and reflect the concept of environmental protection.
If the plastic bucket is too damaged or the cost of repair is too high, you may consider replacing it with a high-quality product.
The wholesale plastic buckets provided by Enlightening Plast are known for their excellent durability and promise a 3-year warranty. If any quality problems occur within three years, they can be replaced free of charge, providing users with reliable protection for long-term use.