Cutting a 5-gallon plastic bucket can be useful for many DIY, workshop, gardening, or industrial purposes — for example, converting a bucket into a planter, storage bin, waste container, or mold. Because most such buckets are made from durable plastic, you need to choose appropriate tools and techniques to get a clean, safe cut.
🔧 Tools & Methods Commonly Used
| Tool Type | Best Use Cases | Advantages | Drawbacks | Recommendation |
| Jigsaw | Horizontal straight cuts; cutting a few buckets | Flexible, good control, easy to follow curves | Cutting bucket bottoms, side openings, and irregular shapes | ★★★★★ |
| Hacksaw (Hand Saw) | Precision cutting, trimming holes, and edge finishing | Cheap, no electricity needed, clean edges | Labor-intensive, slow | ★★★★ |
| Dremel / Rotary Tool | Plastic debris flies off; it requires protection | Precise, fast for detailed work | Not suitable for thick plastic; the blade can snap | ★★★★ |
| Circular Saw | Large-volume horizontal cutting | Fast, straight and consistent cuts | Needs proper clamping; higher risk | ★★★ |
| Hot Knife / Soldering Iron | Melting and smoothing edges | Burr-free results, clean finish | Produces fumes; indoor use not advised | ★★★ |
| Utility Knife | Trimming burrs, thin edges, minor corrections | Simple, low cost | Trimming burrs, thin edges, and minor corrections | ★★ |
| Angle Grinder | Quick rough cutting | Very strong cutting power | Dangerous for plastics; melting, flying debris | ★★ |
Some DIY enthusiasts even use a propane torch after cutting to gently melt the cut edges, making them round and smooth. This makes the edges safer (no sharp fragments), but they must be handled with care.
The most popular are jigsaws and hand saws, suitable for most home DIY projects.

Step-by-step instructions: How to cut the bucket horizontally (e.g., cut it in half).
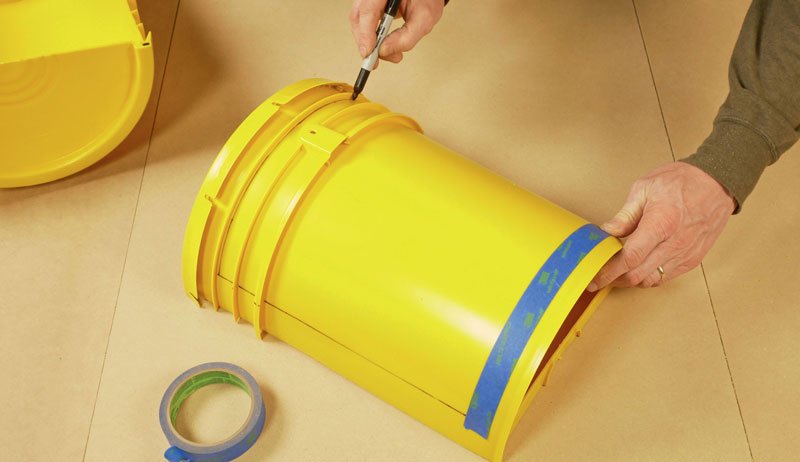
- Mark the cutting line: Draw a horizontal line on the bucket using a marker or tape. Measure to ensure evenness.
- Secure the bucket: Place the bucket on a stable workbench or secure it with clamps.
- Starting hole (if using a chainsaw): Drill a small hole to allow the saw blade to insert.
- Cutting:
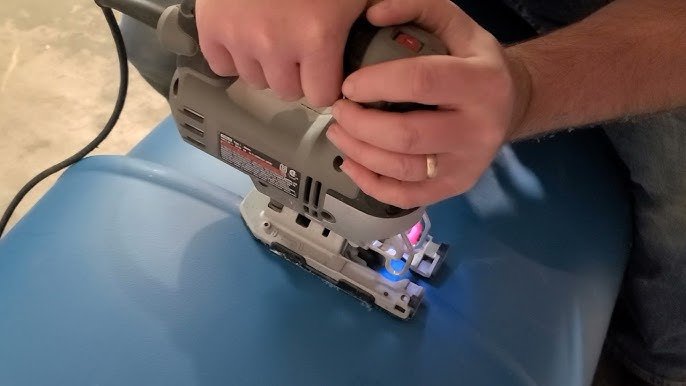
With a jigsaw: Install a fine-toothed wood/plastic saw blade and slowly advance, rotating the bucket you cut.
With a hand saw: Start from the marked line, backsaw (do not push), and slowly rotate the barrel. - Multi-person operation: One person holds the saw while another rotates the barrel for safety and efficiency.
- Trim the edges: Scrape off any burrs with a utility knife, then smooth with medium sandpaper. A hot knife can melt the edges for a more rounded finish.
- Finish: Check for any sharp edges.
For cutting the bottom: Similar steps, but drill a hole from the side and then use a jigsaw to make a ring cut.
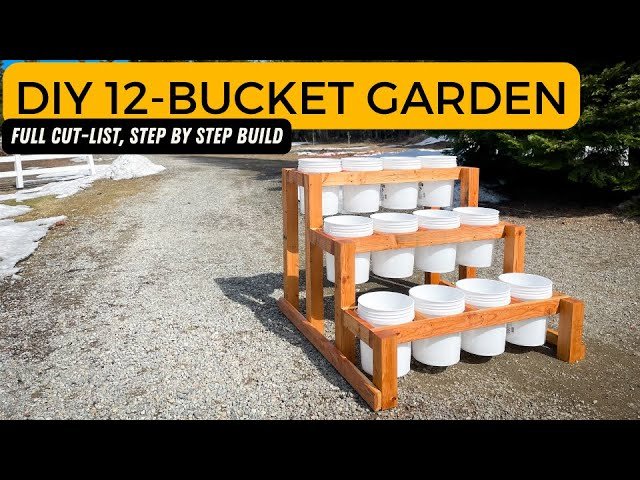
Popular DIY Project Examples
Cutting a 5-gallon bucket can create countless useful items:
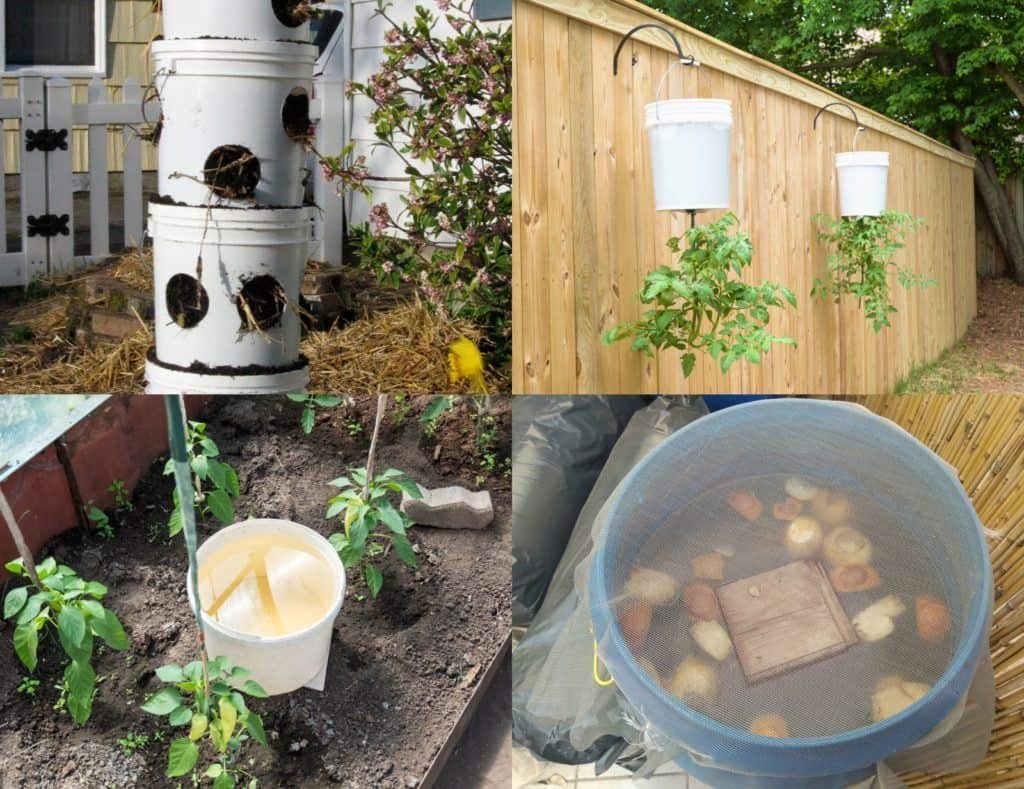
- Plant containers: Cut off the bottom and bury them in soil to limit the spread of root crops (such as Jerusalem artichoke).
- Chicken feeder: Cut holes in the bottom and install a PVC bend for automatic feeding.
- Tool organizer: Cut holes to hang tools, or make hanging bags on the side of the bucket.
- Strawberry tower: Perforated sides for stacking and planting.
- Cooling frame greenhouse: Cut in half and cover with a transparent lid for seedling cultivation.
- Mouse trap or feeder: Simple cut-hole design.
Conclusion
Cutting a 5-gallon plastic bucket isn’t difficult; with the right tools and a focus on safety, you can achieve professional results. Start practicing with a simple hand saw and gradually try power tools. You can get free/cheap buckets from Home Depot or your local hardware store to begin your DIY journey! If using it for food-related projects, make sure the bucket is food-grade (labeled #2 HDPE).